Introduction to Crispy Baked Chicken Tenders
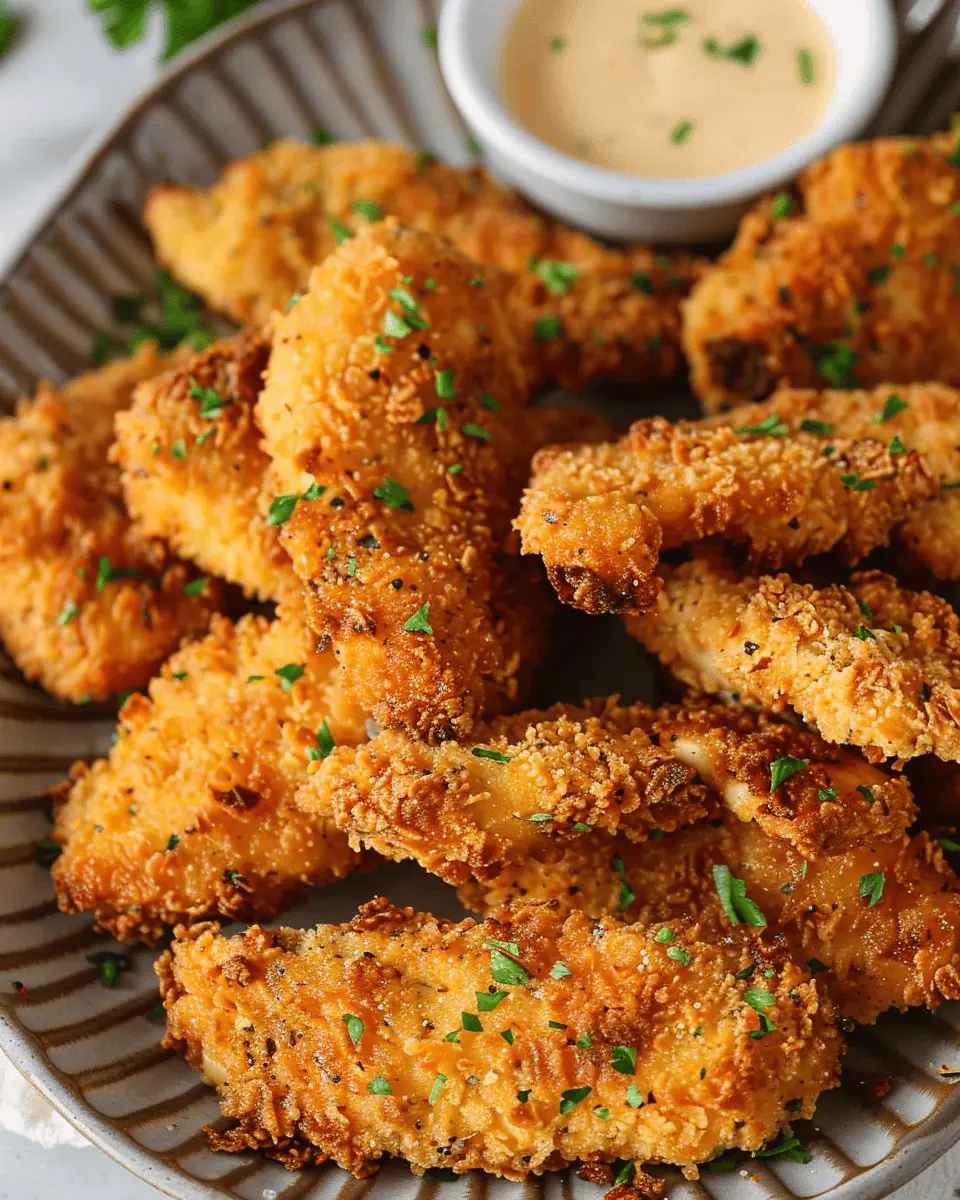
When it comes to comfort food, crispy baked chicken tenders definitely rank high on the list. Not only are they a versatile dish that’s perfect for any occasion, but making them at home is truly a game changer. Whether you’re whipping them up for a casual dinner or serving them at a party, these tenders promise a delightful crunch and flavor that store-bought options simply can’t compete with.
Why Homemade Crispy Baked Chicken Tenders are a Game Changer
Homemade chicken tenders offer you the chance to control every element of the cooking process. You choose the quality of the chicken, the spices, and most importantly, the cooking method. According to a study published by the American Heart Association, preparing meals at home can lead to healthier eating habits. This means not only can you skip the preservatives and additives often found in pre-packaged food, but you can also customize the tenders to meet your flavor preferences.
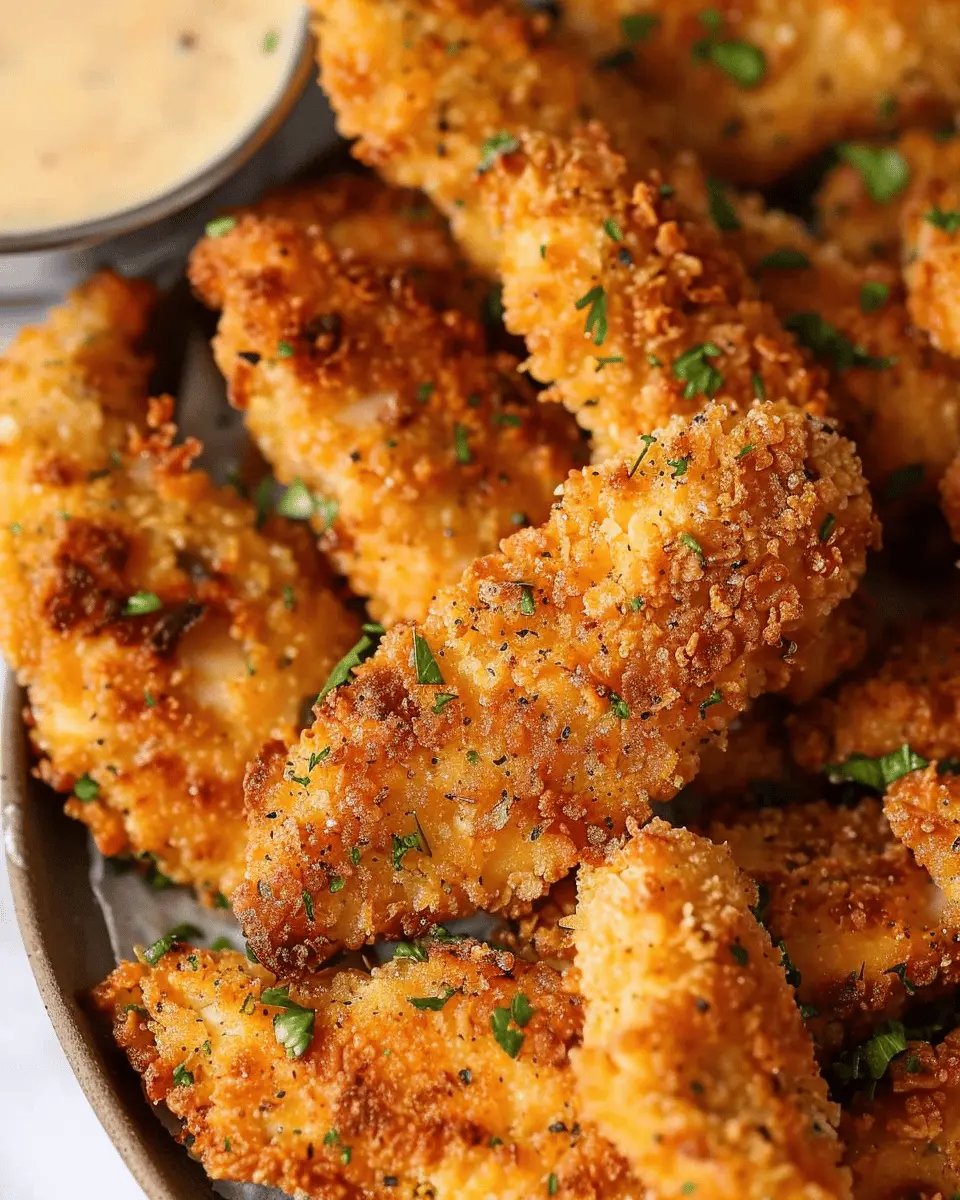
Think about it—when was the last time you bit into a frozen chicken tender and felt truly satisfied? By baking instead of frying, you can achieve that delightful crunch with a fraction of the grease. A quick toss in the oven, paired with a crispy coating, results in tenders that are both delicious and healthier.
Now, you may be wondering what makes the crispiness factor so significant. It’s all about the right combination of Panko breadcrumbs and the perfect seasoning. Panko not only delivers that satisfying crunch but also allows for better caramelization compared to regular breadcrumbs. For an added kick, consider experimenting with your spice mix—maybe a touch of smoked paprika or a hint of garlic powder?
Plus, homemade tenders can easily be paired with a variety of dipping sauces, from honey mustard to homemade ranch. This flexibility keeps your meals exciting and helps you indulge without the guilt of store-bought options laden with sodium and preservatives.
So, if you’re ready to elevate your meal game, dive into this crispy baked chicken tenders recipe! You’ll be pleasantly surprised by how easy it is to make delightful, golden-brown pieces of chicken that will have everyone asking for seconds. For more kitchen inspiration, check out this article on meal prepping. It’s the perfect companion for your cooking adventures!
Ingredients for Crispy Baked Chicken Tenders
Essential ingredients for the perfect crunch
When it comes to creating those crispy baked chicken tenders, the foundation lies in using the right ingredients. Here’s what you’ll need to achieve that delightful crunch:
- Chicken breast fillets: Choose boneless, skinless pieces for a juicy interior.
- Breadcrumbs: Opt for panko breadcrumbs for a light, airy finish. They’re perfect for that irresistible crunch!
- Seasoning: Don’t skimp on flavor—salt, pepper, garlic powder, and paprika add the perfect kick.
- Eggs: This acts as a binding agent, helping the breadcrumbs stick to the chicken.
For tips on selecting high-quality chicken, check out resources like the USDA’s Poultry Guidelines.
Optional add-ins for extra flavor
Want to elevate your crispy baked chicken tenders? Here are a few optional add-ins that can pack a flavorful punch:
- Herbs and spices: Try adding Italian seasoning, cayenne pepper, or dried thyme for an aromatic twist.
- Cheese: A sprinkle of grated parmesan in the breadcrumbs can add depth and an extra savory note.
- Dipping sauces: Consider making homemade honey mustard or creamy ranch to accompany your tenders.
With these ingredients and tweaks, you’ll create chicken tenders that are not just crispy but also bursting with flavor!
Preparing Crispy Baked Chicken Tenders
Creating crispy baked chicken tenders at home is a flavorful endeavor that can satisfy cravings without the grease. Say goodbye to the restaurant’s deep-fried options and embrace a healthier yet just-as-delightful version that you, your friends, or family will love. Let’s dive into the step-by-step process of making these delightful tenders.
Prepare the chicken
Start with fresh boneless, skinless chicken breasts. This is the foundation for your crispy baked chicken tenders. Aim for uniform thickness—about 1-inch wide so that they cook evenly. If you’re not sure how to slice it right, think of cutting the chicken in half horizontally to make it thinner. This makes it not only easier to cook but also more tender and juicy when baked.
Set up the breading stations
Creating a successful breading station can be a game-changer when it comes to achieving that perfect crunch. You’ll need three shallow dishes:
- Flour mixture: Combine all-purpose flour with salt, pepper, and a dash of garlic powder.
- Egg wash: Beat a couple of eggs with a splash of milk or alternative milk for added richness.
- Breadcrumb mix: Use panko breadcrumbs for that extra crunchy texture. Add seasoning to this as well—use dried herbs like oregano or a sprinkle of paprika for some color and flavor.
The breading process is not merely functional; it’s the art behind those crunchy bites everyone loves.
Season the chicken strips
Before the breading begins, seasoning your chicken strips is key to infusing flavor. You can spice them up in various ways:
- Sprinkle salt and pepper generously on both sides.
- If you want to kick it up a notch, consider using your favorite seasoning blend or a touch of cayenne for some heat.
Don’t forget to massage the seasonings into the meat—this extra step helps to ensure each bite bursts with flavor.
Bread the chicken tenders
Now, it’s time to get your hands a little messy! Start by taking a chicken strip and dip it into the flour mixture, shaking off any excess. Next, coat it with the egg wash before finally pressing it into the breadcrumb mixture. Ensure each piece is fully covered; no naked chicken here! Repeat the process until all strips are breaded. A tip? For even crunchier tenders, consider double-breading by repeating the egg wash and breadcrumb steps.
Prepare the baking sheet for optimal crispiness
What good is your effort if the tenders don’t come out crispy? To ensure maximum crispiness, line a baking sheet with parchment paper. This not only prevents sticking but also promotes airflow around the tenders. A cooling rack placed on top of the baking sheet can elevate them, allowing heat circulation for even browning.
Arrange and coat the chicken before baking
Carefully place each breaded chicken tender on the prepared baking sheet. Try to give them some space; they ought to be single-layered without overlapping. For that golden finish, don’t be shy—spray or drizzle a little oil on top of the tenders. This little trick mimics frying by allowing the tops to become delightfully crispy.
Bake to perfection
Preheat your oven to 400°F (200°C) and put the tenders in for about 20-25 minutes. Halfway through, flip the tenders to promote even cooking. Keeping an eye on them towards the end is essential; everyone’s oven is different, so when they reach an internal temperature of 165°F, you know they are done.
Crispy baked chicken tenders are not just a fantastic meal—they can also work great as an appetizer, a salad topping, or even in sandwiches. They’re versatile and incredibly customizable. Now that you’ve mastered the process, why not experiment with your favorite dipping sauces? BBQ, honey mustard, or a zesty ranch dressing could elevate your chicken experience to new heights. Enjoy your delightful homemade meal!
Variations on Crispy Baked Chicken Tenders
When it comes to crispy baked chicken tenders, the possibilities are endless! Let’s explore some exciting variations that can spice up your meal prep.
Spicy Crispy Baked Chicken Tenders
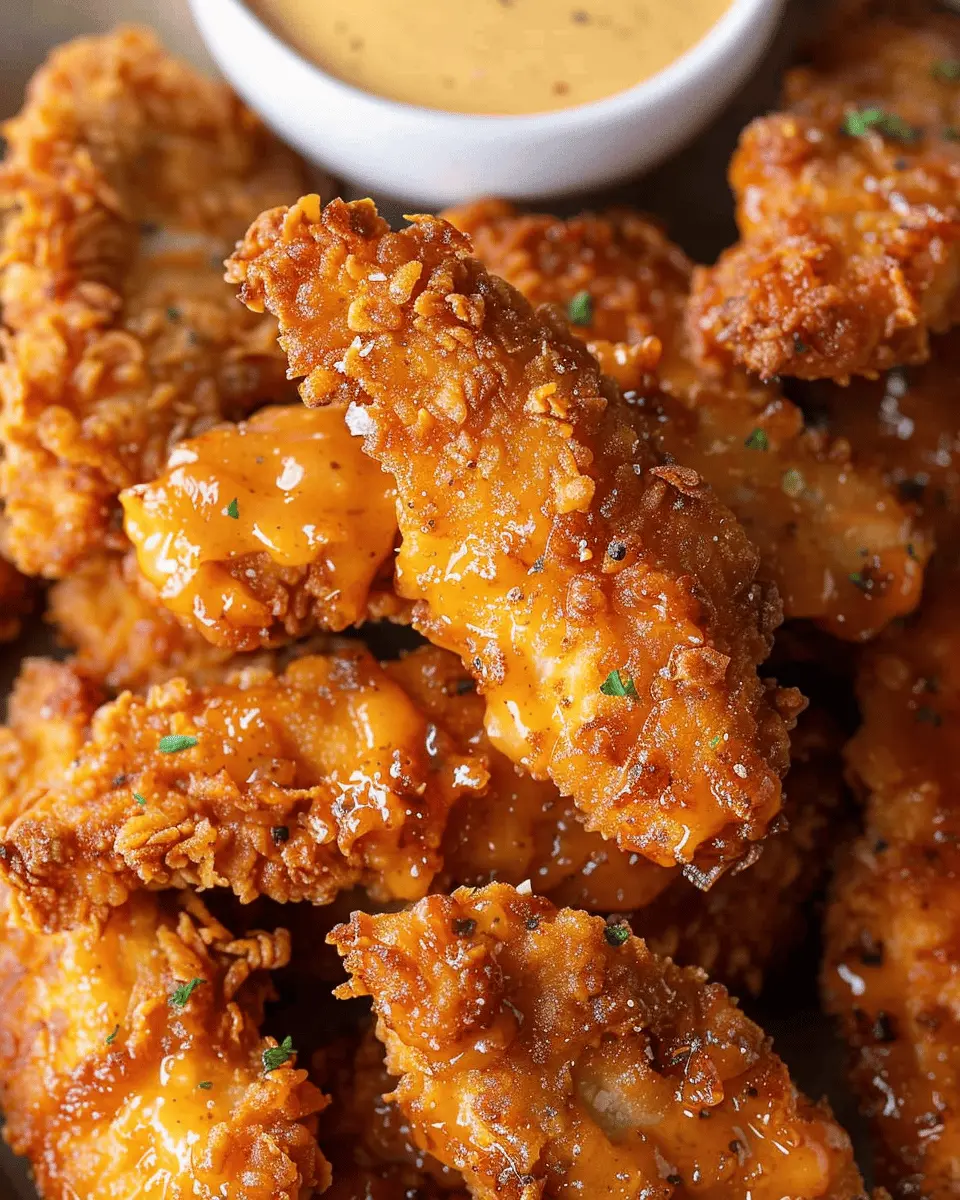
For those who crave heat, why not infuse some spice into your tenders? Adding cayenne pepper or a mix of chili powder and paprika can elevate the flavor! Consider marinating your chicken in a blend of buttermilk, hot sauce, and spices for a few hours before coating it with breadcrumbs. This not only ensures that every bite carries that delightful kick but also keeps the tenders juicy. Serve them with a cooling dip like ranch or blue cheese to balance out the spice. If you’re looking for extra heat, try crispy jalapeños on top!
Herb-Infused Crispy Baked Chicken Tenders
If you enjoy more subtle flavors, consider an herb-infused approach. Mixing dried or fresh herbs like thyme, oregano, or rosemary into the breadcrumb coating can add aromatic depth. I’ve found that adding lemon zest to the mixture brightens up the flavor profile beautifully. Don’t shy away from a side of homemade garlic aioli for dipping—it’s fantastic with those herbaceous notes! Check out this Herb Tips for more insights on using herbs in cooking.
Gluten-Free Crispy Baked Chicken Tenders
For those with gluten sensitivities, making crispy baked chicken tenders gluten-free is simple and delicious! Swap traditional breadcrumbs for almond flour or crushed gluten-free cornflakes. Both options give you that satisfying crunch without sacrificing flavor. You can also experiment with adding a sprinkle of nutritional yeast for a touch of cheesy flavor—perfect for a gluten-free diet! If you’re looking for more tips on gluten-free cooking, this resource is a great start.
No matter which variation you choose, these tips will help you create tenders that everyone—gluten-free or not—can enjoy!
Cooking Tips and Notes for Crispy Baked Chicken Tenders
Achieving Extra Crispiness
If you’re aiming for crispy baked chicken tenders, texture is key! Here are a few tips to help you achieve that satisfying crunch:
- Use Panko Breadcrumbs: Unlike regular breadcrumbs, panko gives a lighter, airier crunch. If you haven’t tried it yet, you’ll be pleasantly surprised!
- Double Dipping: For an even thicker crust, dip your chicken tenders in flour, then egg wash, followed by panko. This extra layer adds fabulous texture.
- Preheat Your Baking Sheet: Place your baking sheet in the oven while it preheats. This technique helps to crisp the bottom of your chicken tenders right from the start.
Common Pitfalls to Avoid
Cooking can be a journey of trial and error! Here’s what to steer clear of:
- Crowding the Pan: Overcrowding can trap steam and ruin your crispy dreams. Leave space between the tenders to allow even heat distribution.
- Skipping the Chill: If time allows, refrigerate your breaded tenders for about 30 minutes before baking. This makes the coating adhere better and keeps them crunchier.
For a deeper dive into maximizing oven-baked crunchiness, resources like America’s Test Kitchen often have valuable insights! Happy cooking!
Serving suggestions for Crispy Baked Chicken Tenders
Dipping sauces to elevate your meal
When it comes to crispy baked chicken tenders, your choice of dipping sauce can truly make or break the experience. Here are a few crowd-pleasers:
- Honey Mustard: The sweet and tangy flavor brings a delightful twist to the crispiness of the tenders.
- BBQ Sauce: A classic option that adds a smoky depth, perfect for those BBQ lovers out there!
- Sriracha Mayo: If you enjoy a kick, blend mayonnaise with Sriracha for an ideal balance of creaminess and heat.
Need more inspiration? Check out these simple dipping sauce ideas to elevate your meal!
Side dishes that pair perfectly
Now, what to serve alongside those crispy baked chicken tenders? Here are some fantastic ideas:
- Sweet Potato Fries: These are an excellent, healthier alternative to traditional fries and add a nice sweetness.
- Coleslaw: A refreshing crunchy side that complements the richness of chicken tenders beautifully.
- Mixed Green Salad: A light salad with seasonal veggies keeps the meal balanced and colorful.
Mix and match these options to create a meal that’s not only satisfying but also Instagram-worthy! Engage your friends in a culinary adventure that’ll have them coming back for more.
Time Breakdown for Crispy Baked Chicken Tenders
Preparation Time
Getting ready to whip up your crispy baked chicken tenders takes about 15 minutes. This includes gathering all your ingredients, slicing your chicken, and coating it in that crunchy, flavorful breading. Pro tip: If you prep ingredients in advance, it can cut down on your cooking time later.
Cooking Time
Once everything is prepped, baking your tenders will take around 20-25 minutes. The oven does all the hard work here, allowing you to focus on side dishes or simply enjoy a moment of downtime.
Total Time
In total, you’re looking at roughly 40 minutes to enjoy these tasty bites from start to finish. Given that the prep and cook times are pretty short, it’s perfect for a weeknight dinner. Pair them with some fresh veggies or a salad, and you’ve got a meal that’s not just easy but delicious too!
For more tips on cooking chicken, check out resources like The Chicken Council for expert insights on perfecting your chicken dishes.
Nutritional Facts for Crispy Baked Chicken Tenders
When it comes to delicious meals that also cater to a balanced diet, crispy baked chicken tenders shine. Let’s break down some vital nutritional information to help you make informed choices.
Calories Per Serving
Each serving of these delicious tenders contains approximately 220 calories. This makes them a healthier option compared to their fried counterparts, allowing you to satisfy your cravings without the extra guilt.
Protein Content
One of the best aspects of crispy baked chicken tenders is their high protein content. With around 25 grams of protein per serving, these tenders provide an excellent source of nutrition that’s essential for muscle repair and overall health. Ideal for young professionals looking to maintain an active lifestyle!
Sodium Levels
When considering meals, sodium levels are crucial for health. Each serving offers about 450 milligrams of sodium. While this is moderate, you can always adjust the seasoning to ensure it meets your dietary needs. Consider pairing them with a fresh salad or some steamed veggies to keep things balanced!
For more insights about healthy eating, you might find this resource from the USDA helpful. Eating well doesn’t have to be complicated; just simple adjustments can make a significant difference. Enjoy your cooking!
FAQs about Crispy Baked Chicken Tenders
How do I keep my chicken tenders crispy after baking?
Keeping your crispy baked chicken tenders crunchy can be a challenge, but it’s definitely doable! Here are a few tips:
- Cool on a wire rack: After baking, place your tenders on a wire rack instead of directly on a plate. This allows air to circulate around them and prevents sogginess.
- Avoid covering them: While it might be tempting to cover your tenders to keep them warm, this traps moisture. Instead, serve them immediately or keep them in a preheated oven at a low temperature.
Can I make chicken tenders ahead of time?
Yes! You can prepare your crispy baked chicken tenders in advance, making them perfect for meal prep or a busy weeknight dinner. Just follow these steps:
- Prepare and coat: You can bread the chicken a few hours before baking. Just keep them in the fridge until you’re ready to bake.
- Bake and store: Alternatively, bake them, let them cool, and then store them in an airtight container in the refrigerator for up to three days. Reheat in the oven to regain their crunch.
What dipping sauces go best with crispy baked chicken tenders?
The right dipping sauce can elevate your crispy baked chicken tenders to a whole new level! Here are some favorites:
- Honey mustard: A classic that balances sweetness and tang.
- Barbecue sauce: Perfect for those who love a smoky flavor.
- Ranch dressing: A crowd-pleaser that adds creamy goodness.
Feel free to experiment! And if you’re looking for healthier options, you might consider a yogurt-based dip. For more sauce ideas, check out Serious Eats for inspiration.
By keeping these tips in mind, you’ll have all the knowledge you need to enjoy your crispy baked chicken tenders to the fullest!
Conclusion on Crispy Baked Chicken Tenders
The satisfaction of homemade goodness
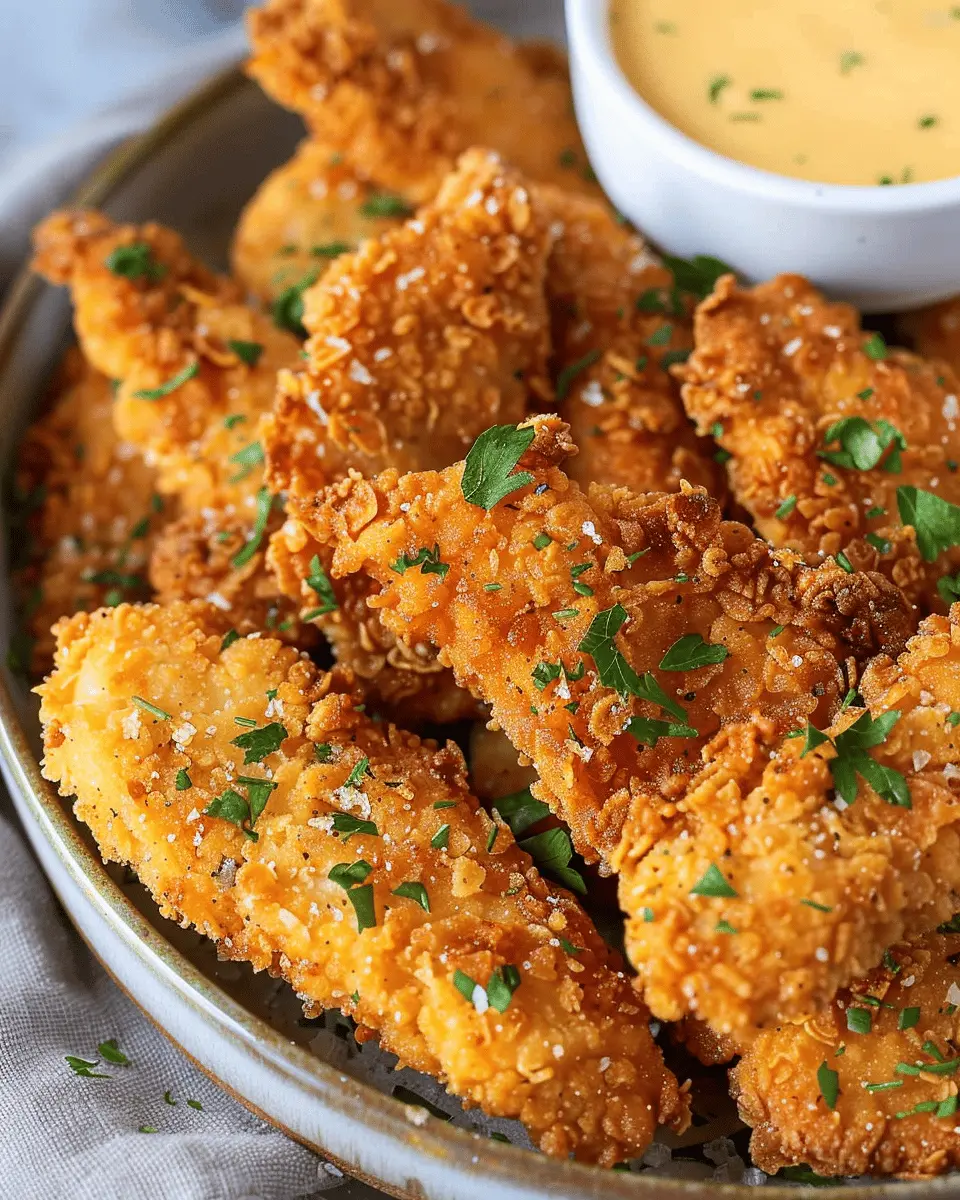
There’s nothing quite like the satisfaction of creating crispy baked chicken tenders in your own kitchen. Not only do they offer a healthier alternative to frying, but the homemade version allows you to control the ingredients and flavors. Imagine biting into a perfectly golden crust that’s still juicy on the inside—it’s pure comfort food.
If you’re tired of takeout or frozen meals, this recipe gives you the chance to experiment with different seasonings and sides, turning a simple dish into a family favorite. So why not gather some friends or loved ones and share a meal crafted with care? Your taste buds will thank you! For more cooking inspiration, check out Serious Eats or BBC Good Food for satisfying meal ideas.
PrintCrispy Baked Chicken Tenders: Easy Homemade Delight for All

Enjoy these crispy baked chicken tenders that are simple to make and perfect for the whole family.
- Prep Time: 15 minutes
- Cook Time: 25 minutes
- Total Time: 40 minutes
- Yield: 4 servings
- Category: Main Dish
- Method: Baking
- Cuisine: American
- Diet: Gluten-Free
Ingredients
- 1 pound chicken tenders
- 1 cup breadcrumbs
- 1 teaspoon paprika
- 1 teaspoon garlic powder
- 1 teaspoon onion powder
- 1/2 teaspoon salt
- 1/4 teaspoon black pepper
- 2 large eggs
- 1/2 cup all-purpose flour
Instructions
- Preheat the oven to 400°F (200°C).
- In a bowl, whisk together eggs and set aside.
- In another bowl, combine breadcrumbs, paprika, garlic powder, onion powder, salt, and pepper.
- Dredge each chicken tender in flour, dip in the egg, and coat with the breadcrumb mixture.
- Place the coated tenders on a baking sheet lined with parchment paper.
- Bake for 20-25 minutes or until golden brown and cooked through.
Notes
- For extra crunch, you can spray the tenders with cooking spray before baking.
- Serve with your favorite dipping sauce.
Nutrition
- Serving Size: 1 serving
- Calories: 300
- Sugar: 1g
- Sodium: 600mg
- Fat: 10g
- Saturated Fat: 2g
- Unsaturated Fat: 7g
- Trans Fat: 0g
- Carbohydrates: 30g
- Fiber: 2g
- Protein: 25g
- Cholesterol: 120mg